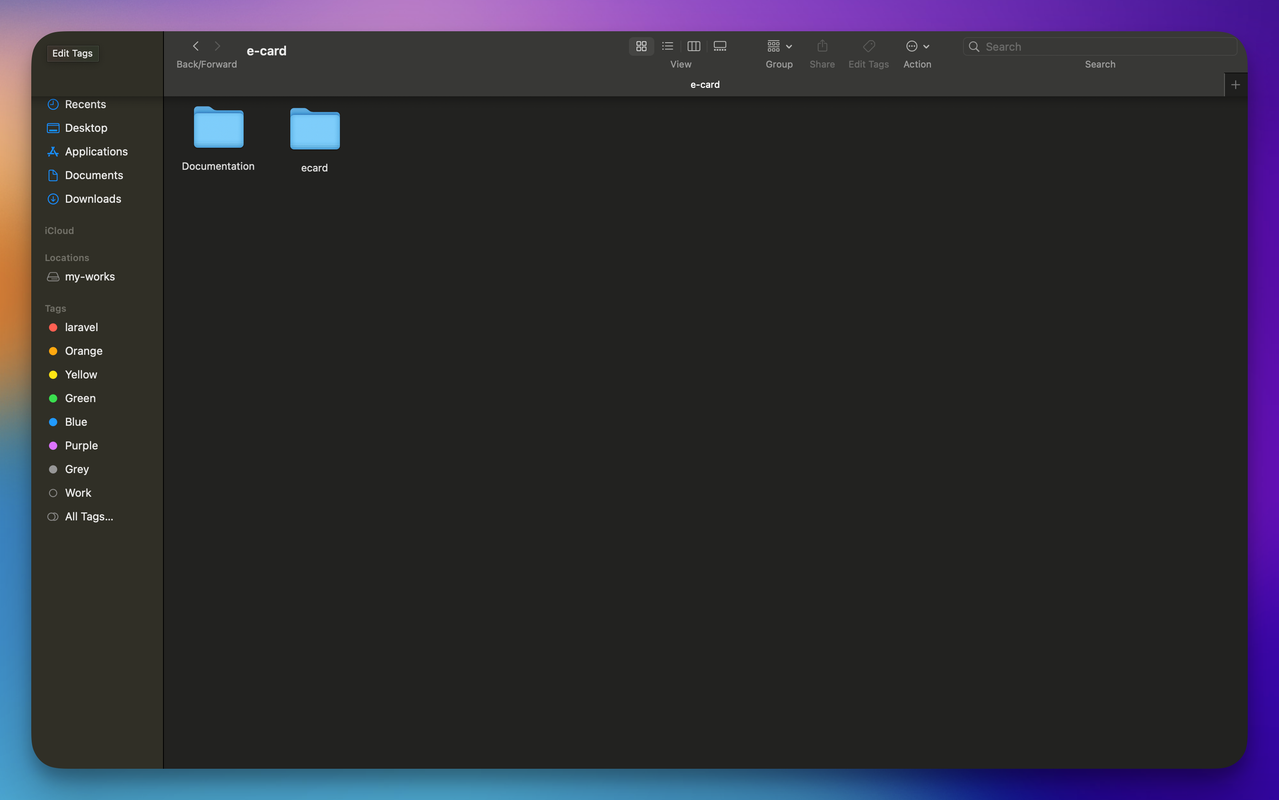
Download file from codecanyon and extract in your pc and you will get 2 folder. Listed below:
- Documentation
- ecard
Step 1:
Download file from codecanyon and extract in your pc and you will get 02 folder. Listed below:
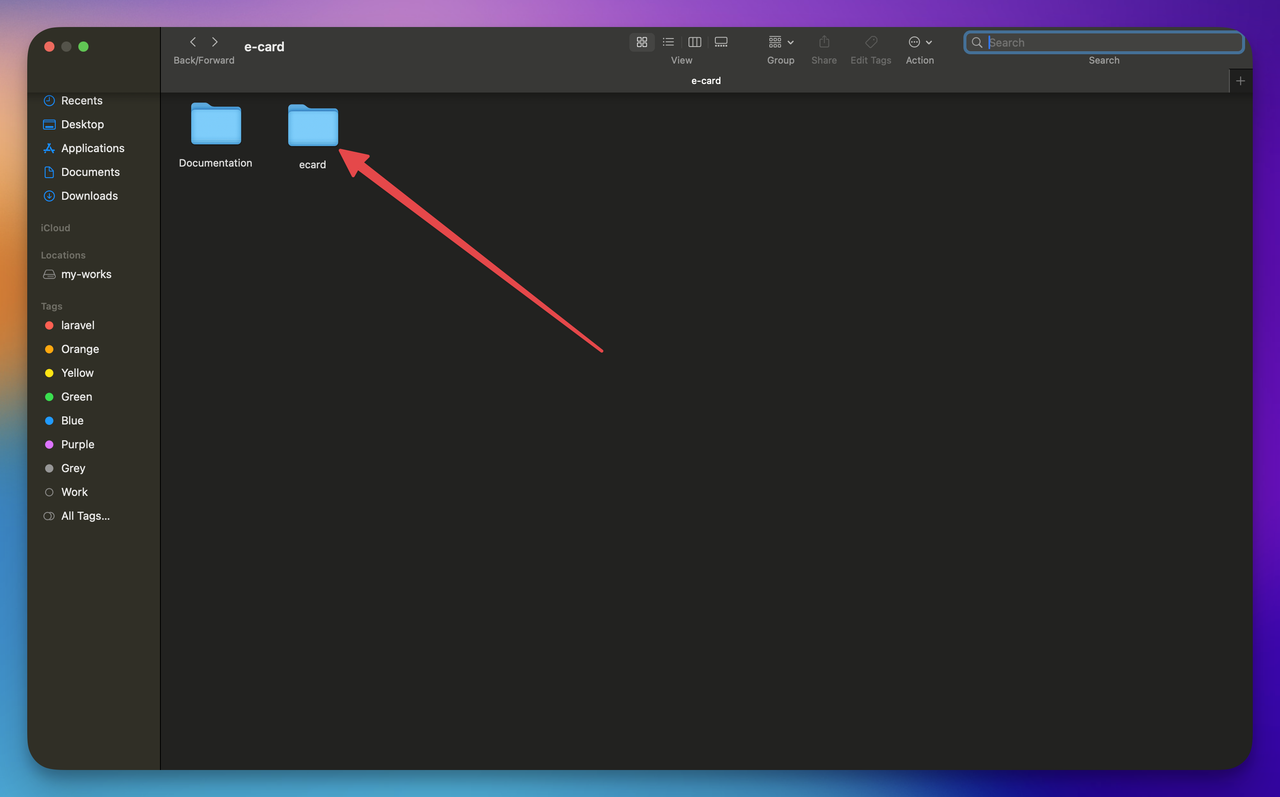
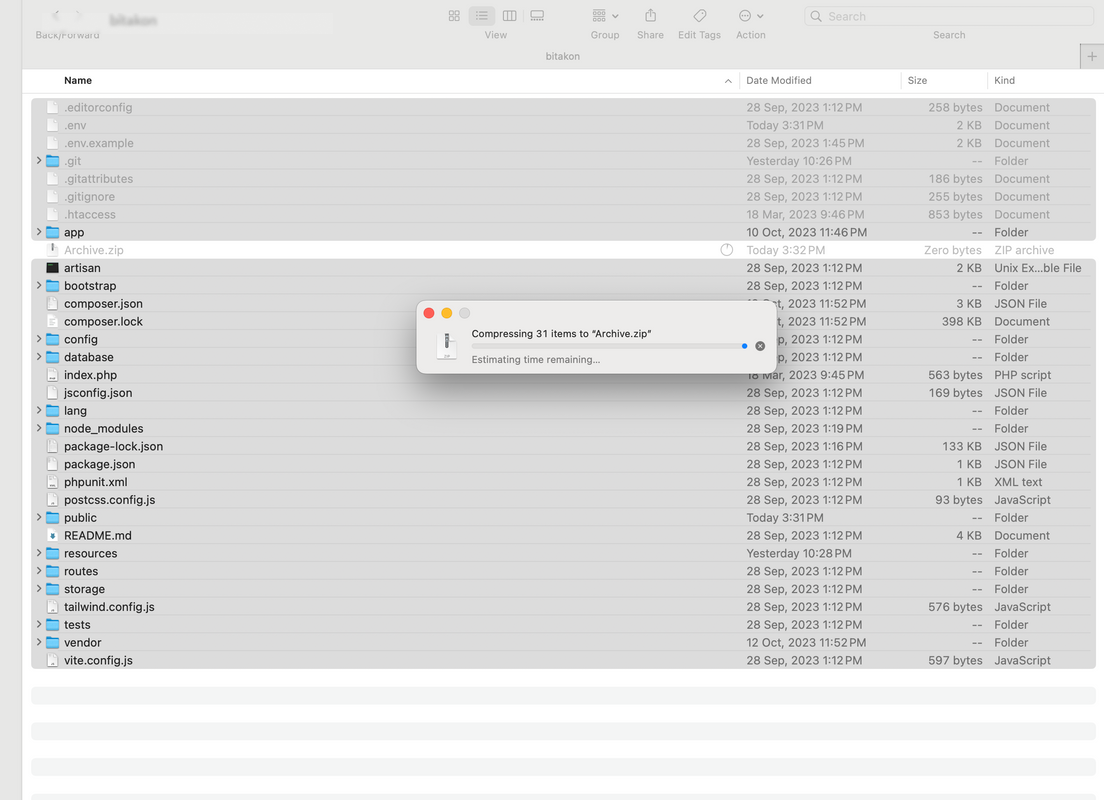
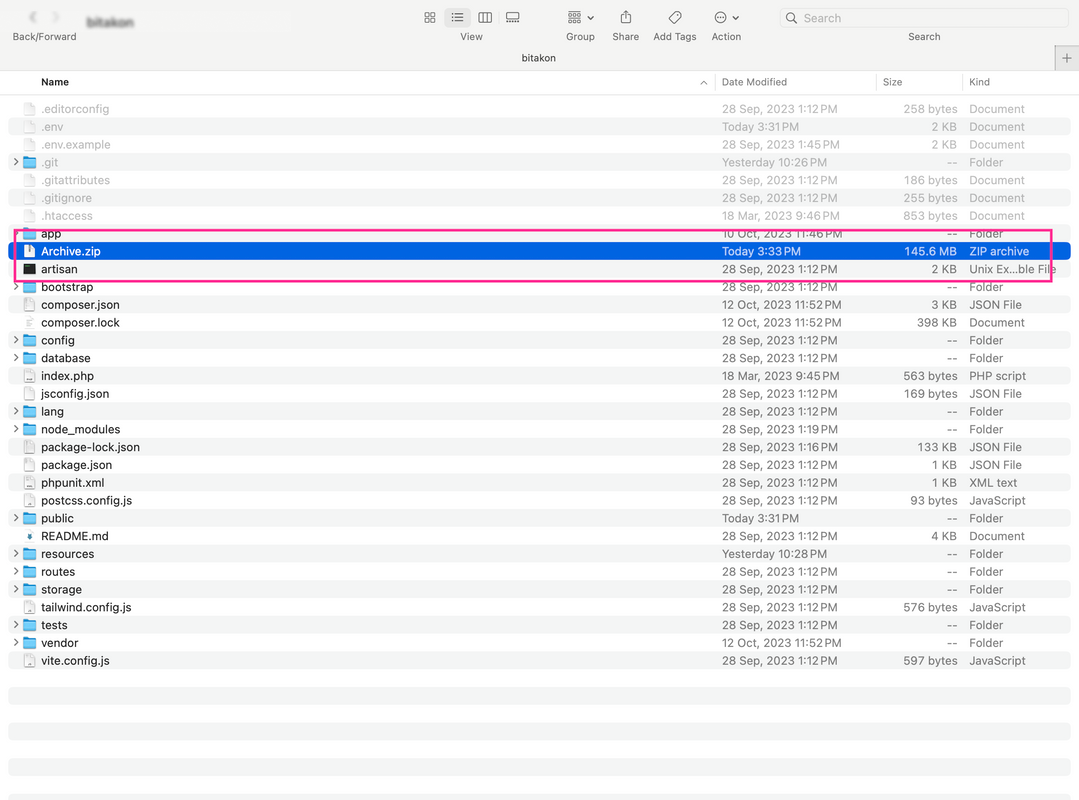
Open the ecard folder, and make zip all files. you have to upload it to your domain root (server) using ftp or file manager.
Step 2:
Now login to your control panel and Upload zip file to server:

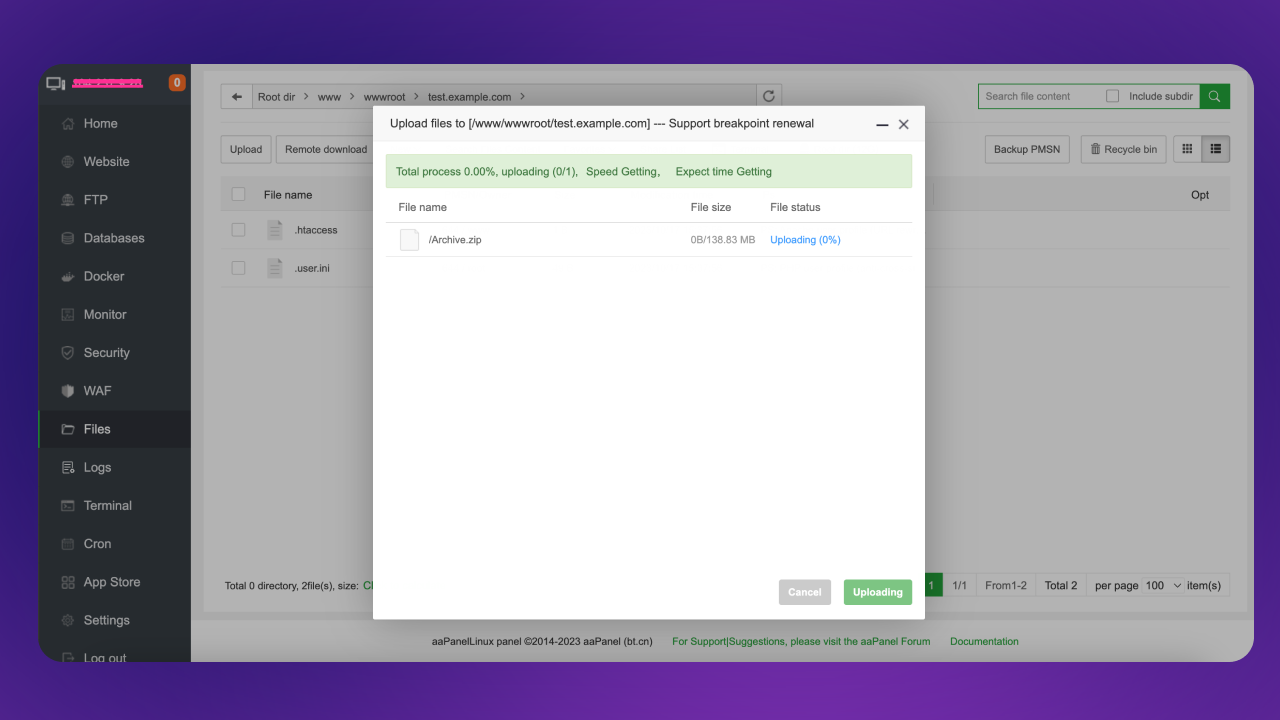
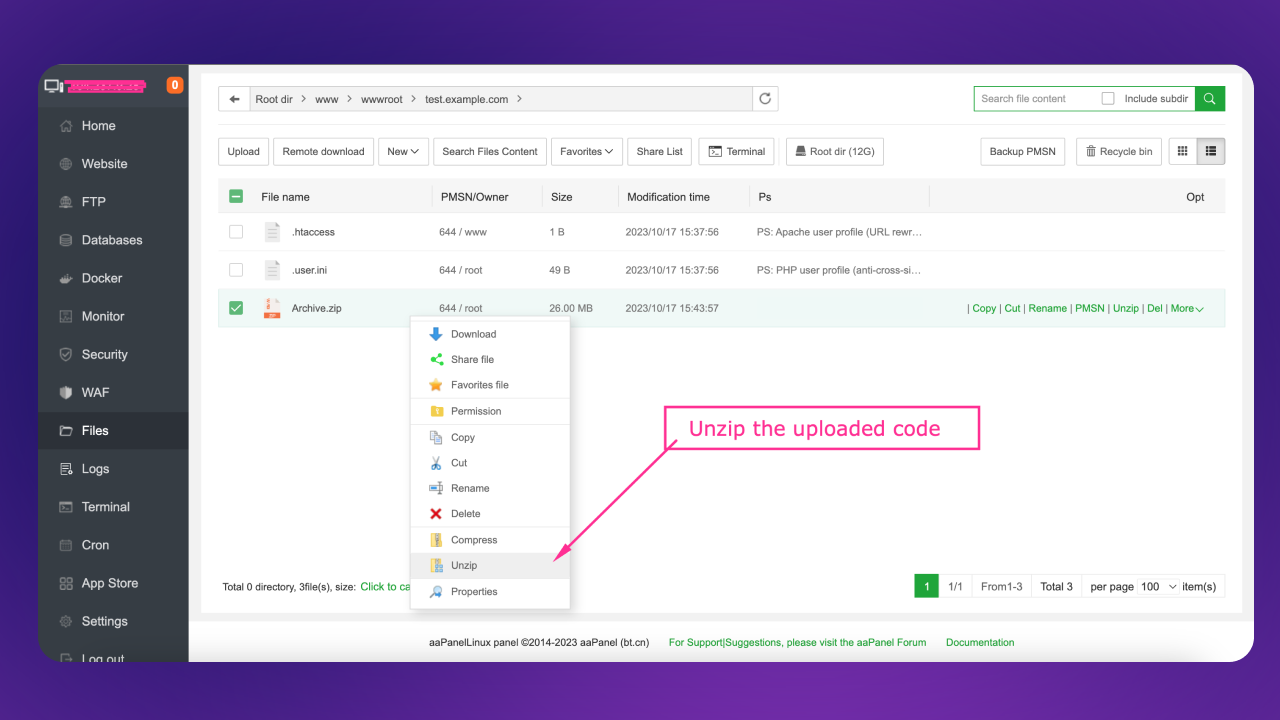
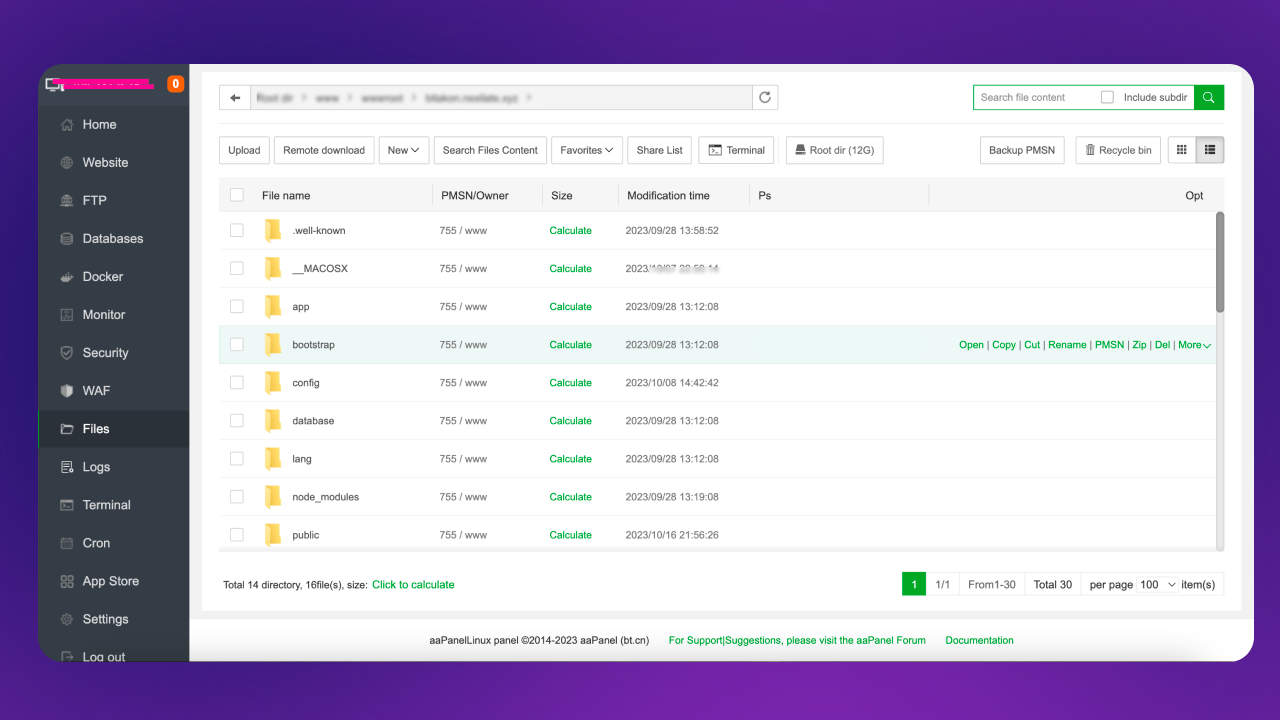
domain-root/public)
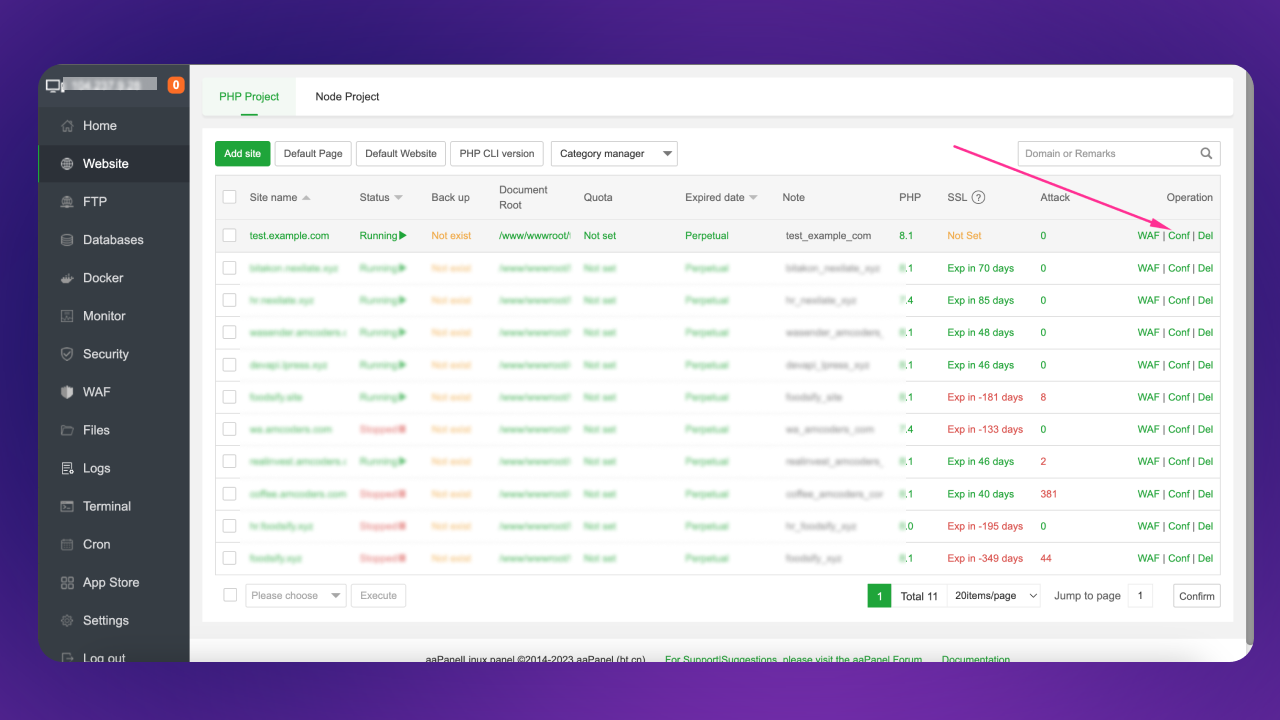
Go to your Website list and select your domain and click to config option
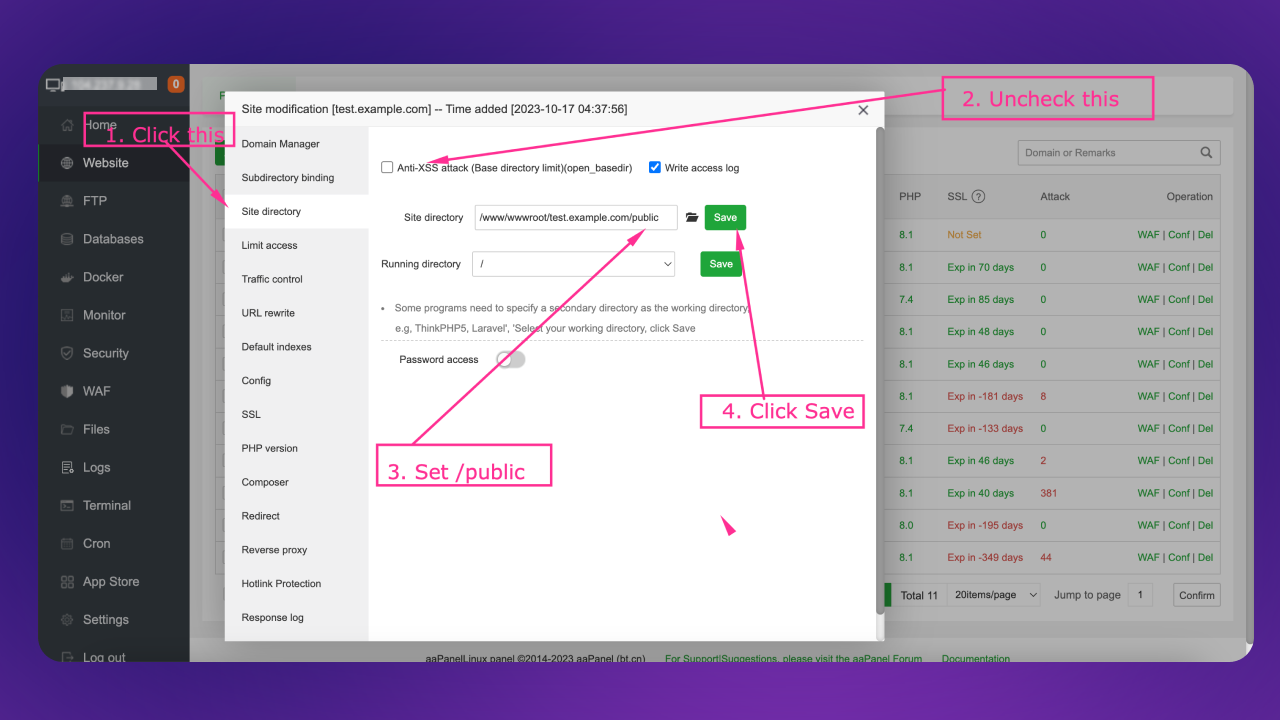
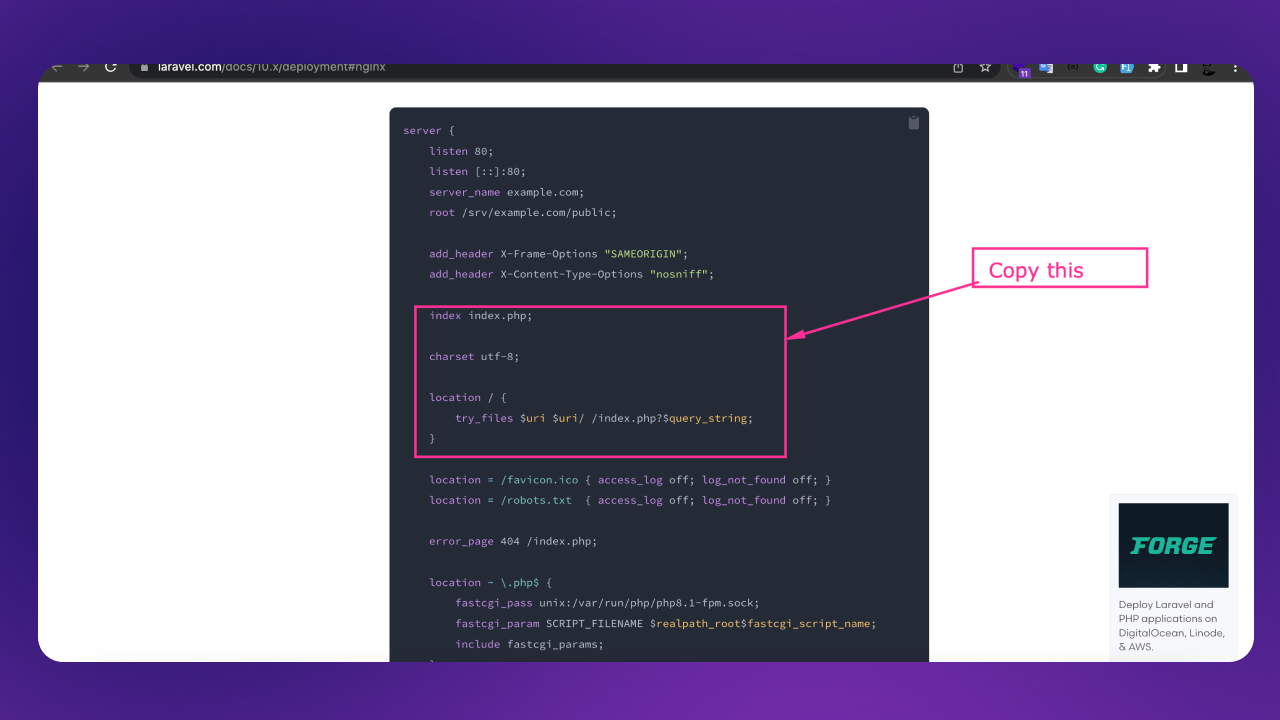
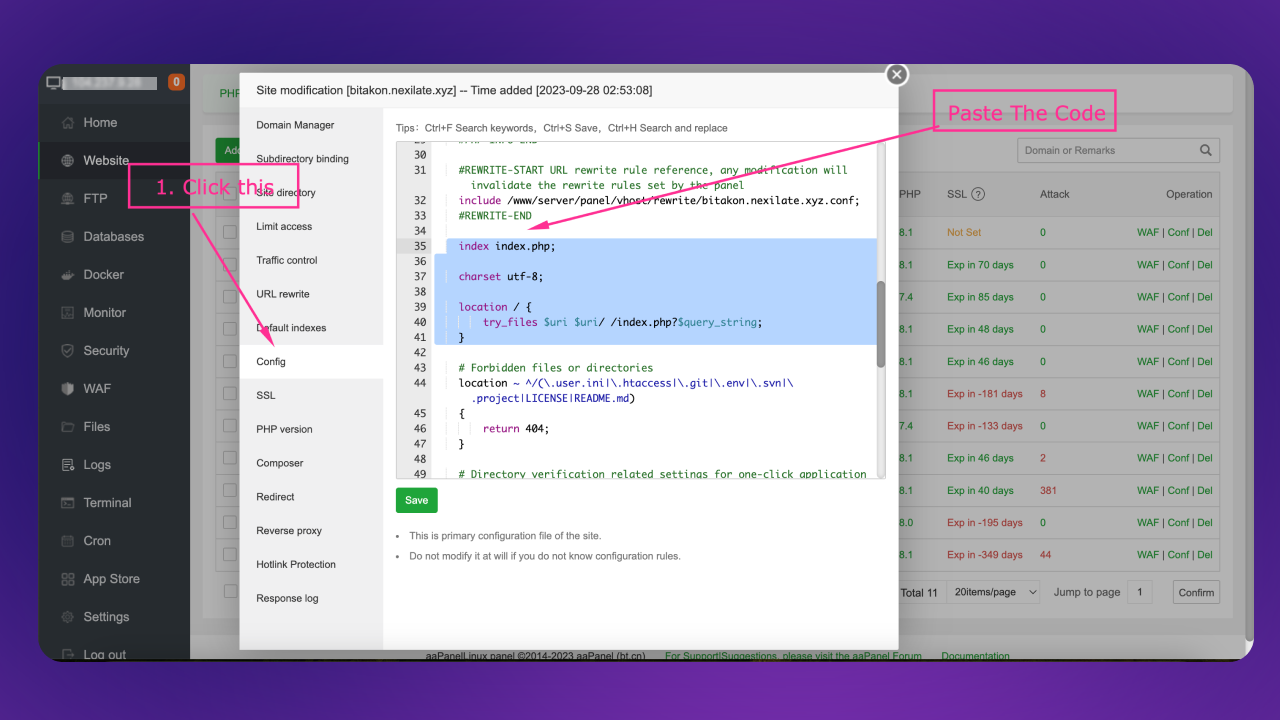
Step 2:
Go to your domain.com/install
Please full fill all requirements from your server and click next button. For folder permissions you can run the following command:
chmod -R 775 /webroot/.env
chmod -R 775 /webroot/storage
chmod -R 775 /webroot/bootstrap/cache
chmod -R 775 /webroot/public/uploads
Click to next button if all required extensions are enabled
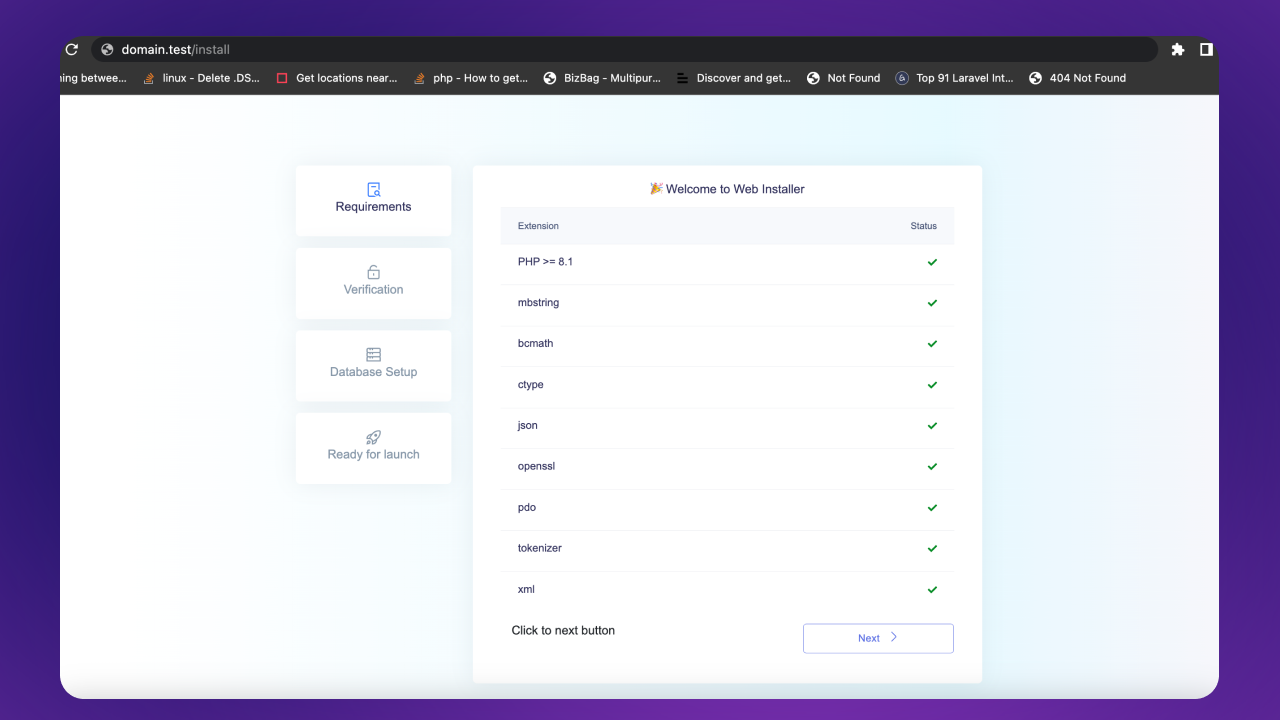
Step 3:
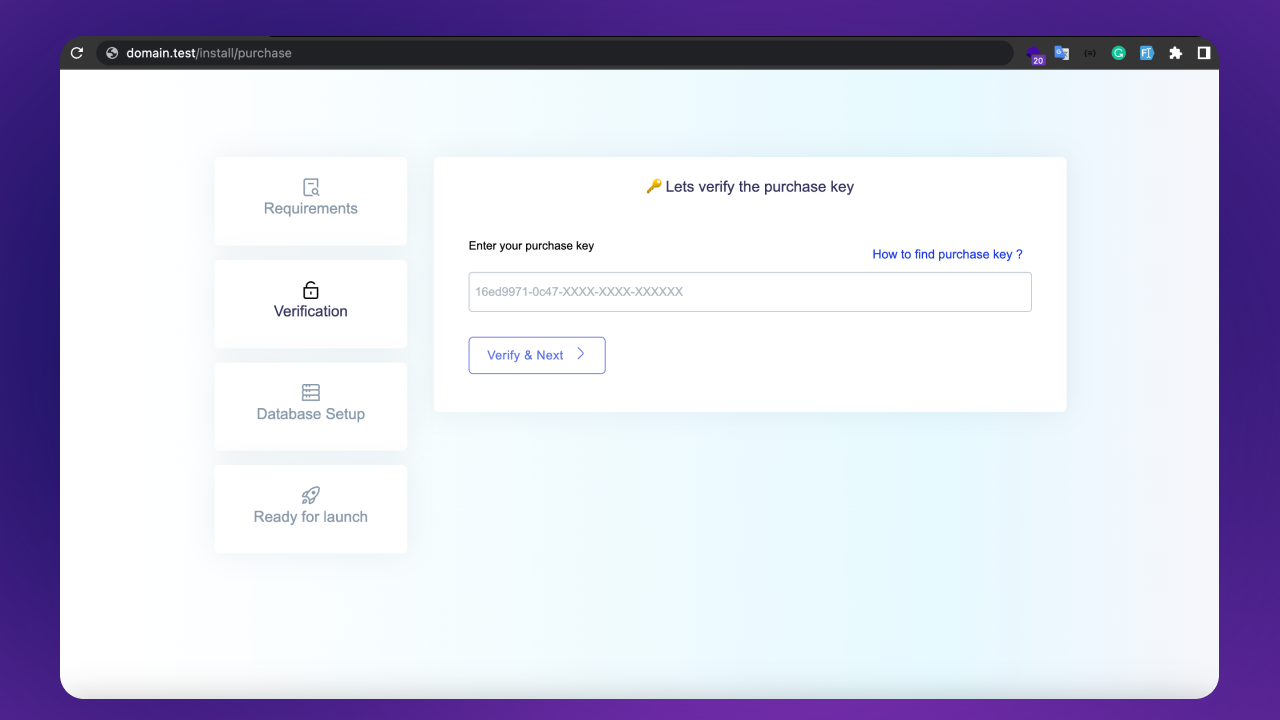
Enter your purchase key.
https://help.market.envato.com/hc/en-us/articles/202822600-Where-Is-My-Purchase-Code- (opens in a new tab)Note: you can use the license for one site only development or production
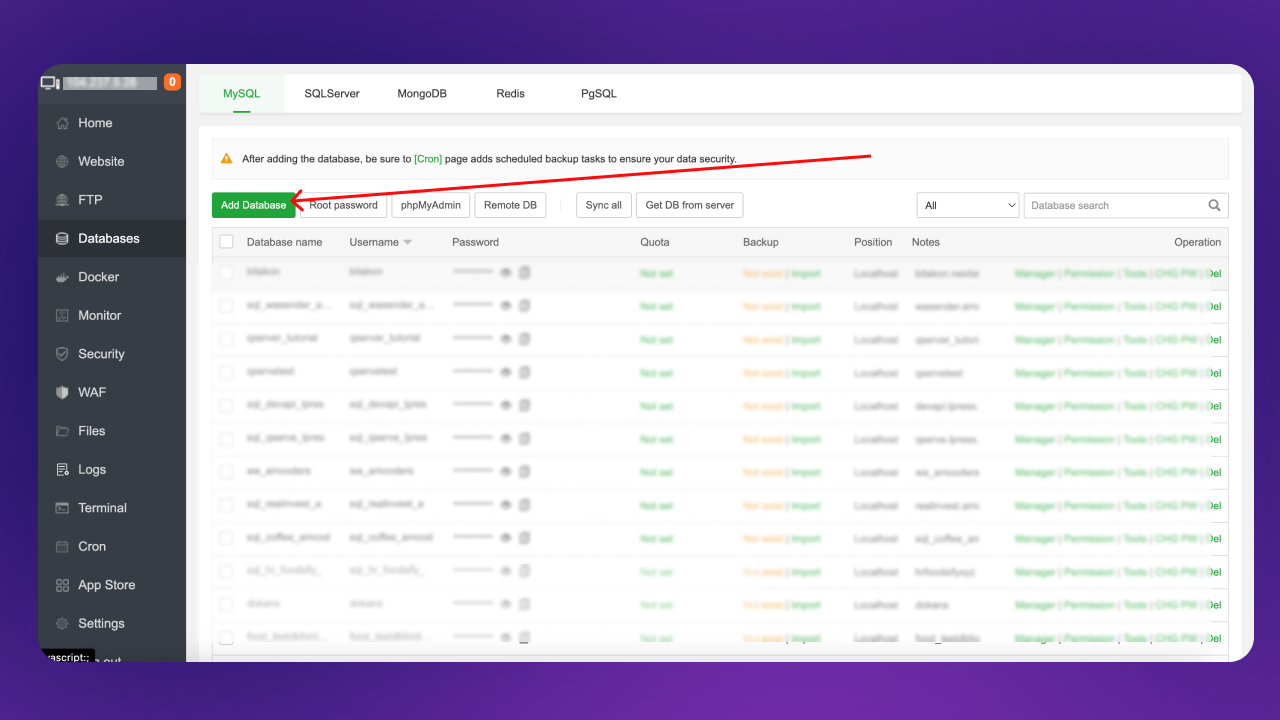
Create database:
Go to control panel to Databases
Enter database name, username, and password
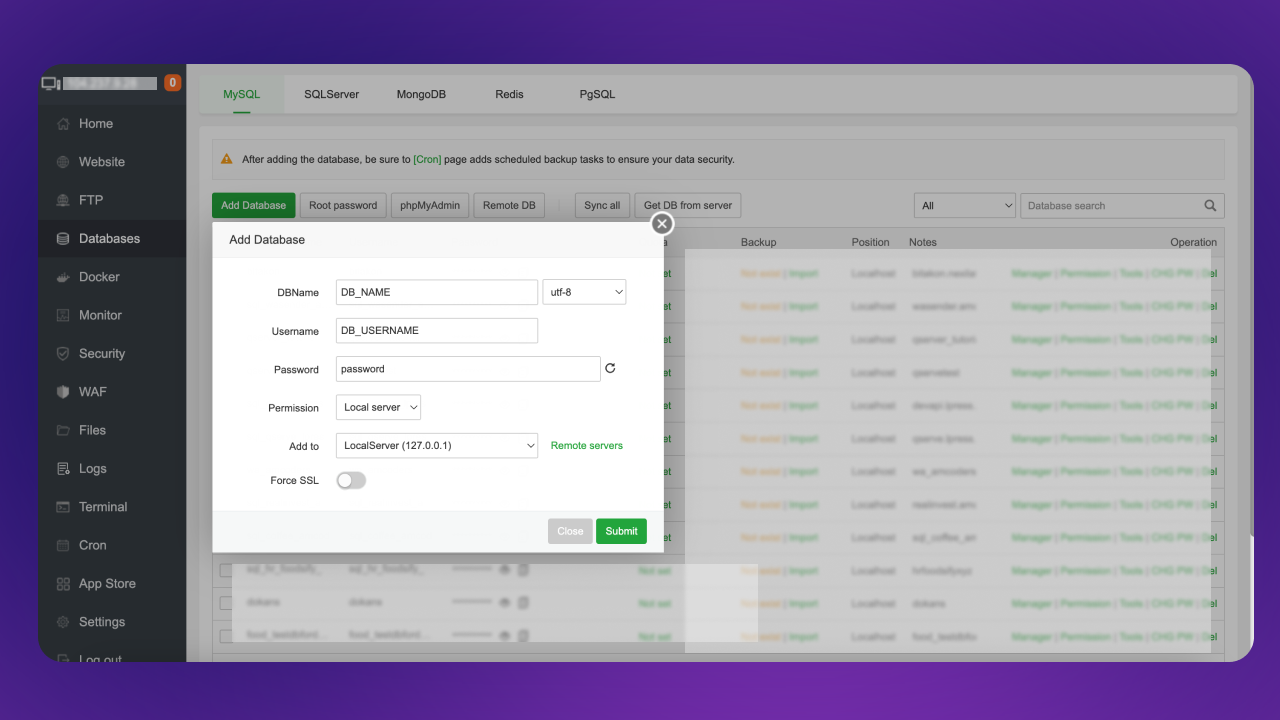
Copy the credintials and paste it somewhere Click to submit button
Step 4:
Enter your site name and enter database credentials.
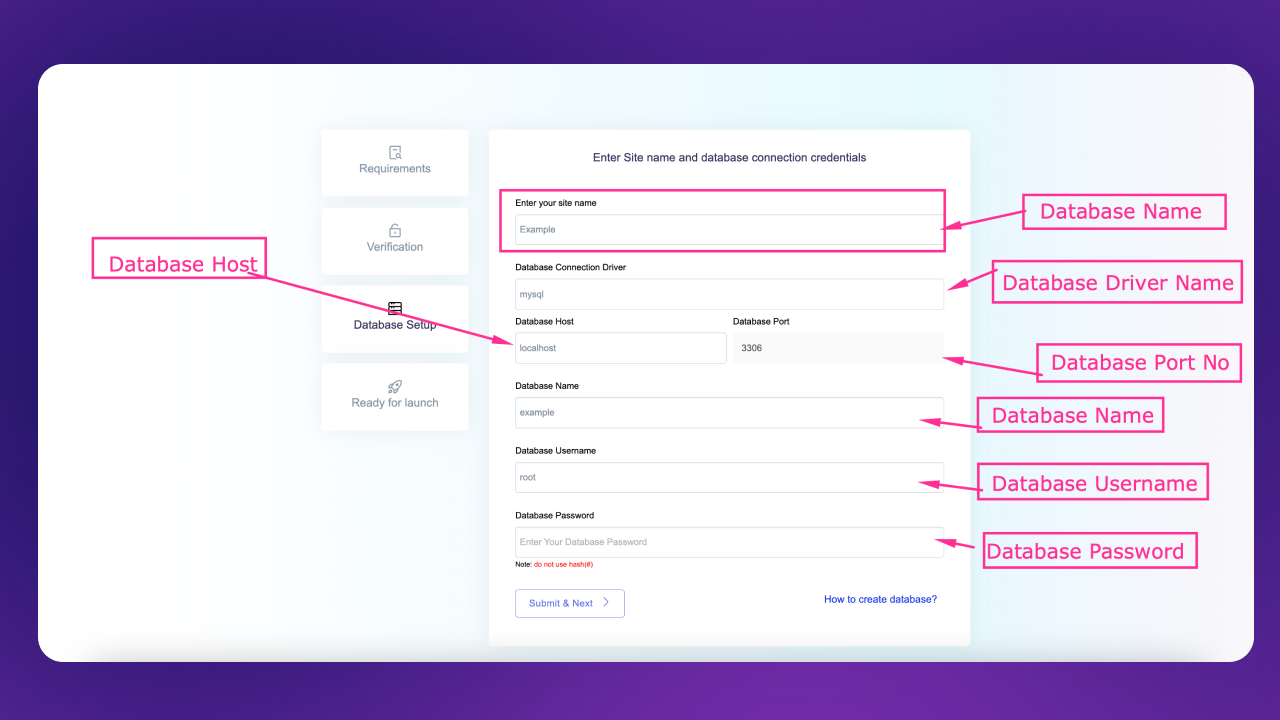
After fillup the form click to submit & next button.
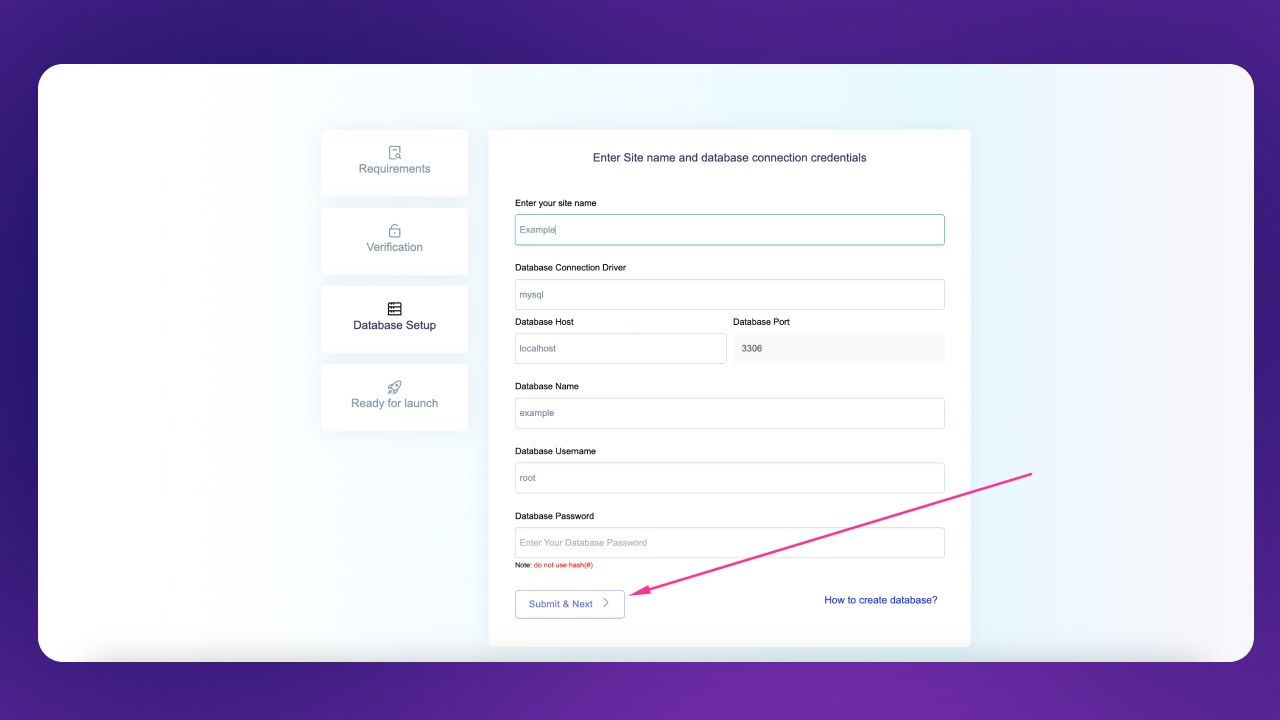
it will take sometimes based on your server speed perfomace. And it will automatically redirect to installlation complete page

Admin Panel Credentials
Admin Panel:
https:your-domain.com/login
Email: admin@admin.com
Password: password